Immunohistochemical Techniques
Introduction to Immunohistochemical Techniques
Immunohistochemical techniques identify specific antigens within tissue sections using labeled antibodies. These labels may be fluorescent or enzymatic, enabling visualization under fluorescent or light microscopes. However, it’s the implementation of positive and negative controls that ensures the reliability and accuracy of the results.
Theory of Immunohistochemistry
Immunohistochemistry involves using labeled antibodies to detect specific antigens within tissue sections. Antigens, which promote antibody production, contain epitopes—binding sites made of amino acids or monosaccharides. Antibodies, integral to the immune response, are immunoglobulins produced by plasma cells from B cells. They have a unique Y-shaped structure consisting of two light and two heavy chains linked by disulfide bonds. The variable domains of the chains confer specificity, allowing antibodies to bind uniquely to their respective antigens. Electrostatic, van der Waals and hydrogen bonds stabilize the binding. Key factors influencing this reaction include affinity (binding strength), avidity (complex stability), specificity (exact epitope recognition), and sensitivity (detection capability of small antigen amounts).
Overview of the immunohistochemistry (IHC) technique steps:
1. Antibody Selection: Choose primary antibodies specific to the target antigen present in the tissue sample.
2. Tissue Preparation: Fix and section the tissue to preserve its structure and expose the antigens.
3. Blocking: Apply a blocking solution to prevent the non-specific binding of antibodies to the tissue.
4. Primary Antibody Incubation: Incubate the tissue sections with the primary antibody that specifically binds to the target antigen.
5. Washing: Rinse the tissue sections to remove unbound primary antibodies.
6. Secondary Antibody Incubation: Apply a labeled secondary antibody that binds to the primary antibody. This label could be fluorescent or an enzyme that produces a colorimetric reaction.
7. Washing: Again, wash the sections to remove any unbound secondary antibodies.
8. Detection: Visualize the label under a microscope—fluorescent labels under a fluorescence microscope and enzyme labels under a light microscope.
9. Counterstaining (optional): Apply a counterstain to enhance contrast in the tissue sections, making the structures more accessible to view.
10. Mounting: Mount the slides for microscopic examination to evaluate the presence and distribution of the antigen.
These steps culminate in visualizing the antigen’s presence within the tissue, allowing for precise pathological evaluation.

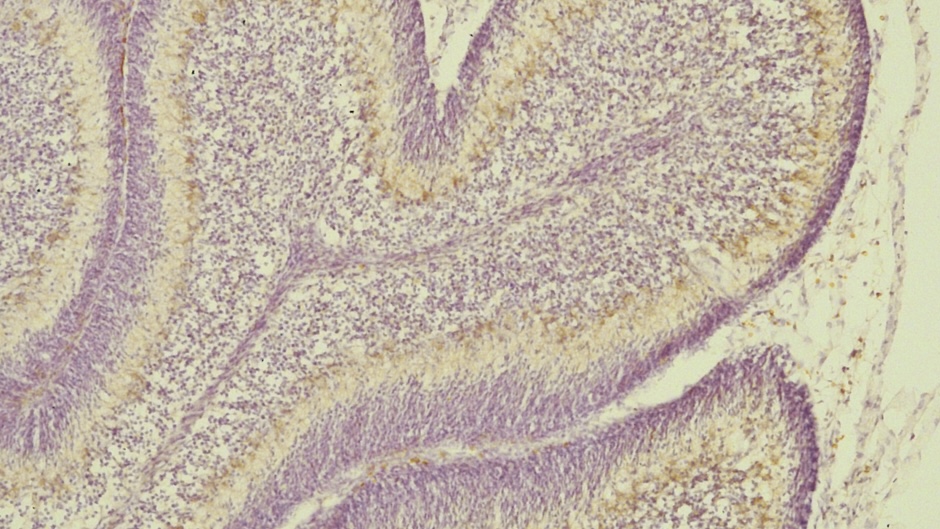
Figure 1. Brain sections from WT show immune reactivity of PLS3 associated with a large number of neurons in the brain cortex


Leave a Reply